Form setup
Setting up your web form for delivery with Form.taxi is quick and straightforward. Just follow these three steps to get your form up and running.
Before you begin, you’ll need a Form.taxi user account. If you don’t have one yet, you can create your personal account for free here: Create Account
1. Create the form
You can design your online form exactly according to your needs when using Form.taxi. This includes both the visual appearance and the structure with all required input fields.
Custom HTML form
Create the form on your website using standard HTML code. It’s completely up to you whether you write the HTML yourself or use a tool to generate it. As long as the form exists as an HTML web form on your site, it can be used with Form.taxi. You can also connect any existing form to our service without needing to rebuild it.
HTML example
Below is an example of a simple web form in HTML. To activate the submission connection, replace FORM_CODE with the unique code of your form. You will get more details about this in step 3.
<form action="https://form.taxi/s/FORM_CODE" method="POST">
    <input type="text" name="Name">
    <input type="email" name="Email">
    <textarea name="Message"></textarea>
    <input type="submit" value="Submit">
</form>
Form templates
We provide a selection of ready-to-use form templates on our website for common use cases. You can simply copy the HTML code of any template and insert it into your own website. If needed, you can also customize the code—for example, to add additional input fields.
Simple HTML forms for various uses can be found in our GitHub repo for direct copying:
2. Register the form
Once your web form is ready, you can register it with Form.taxi. This creates a submission connection for your form, including a unique submission address (form endpoint).
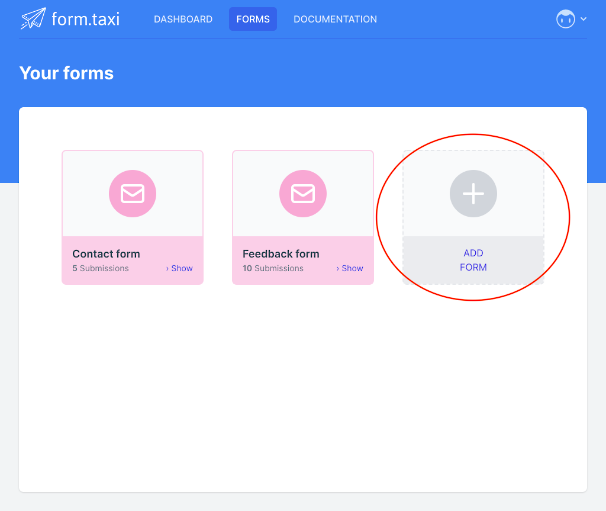
To register your form, open the Form.taxi management panel. In the Forms section, click the New Form button to start the registration process.
Follow the multi-step dialog to provide all required details for the new form connection. After completing the setup, you will be taken to the overview page of your newly registered form.
3. Connect the form
On the overview page of your form, you will find the submission address (Form endpoint) within the connection details. This address establishes the link between your website form and the Form.taxi backend.

Copy the submission address and insert it into the HTML source code of your form. Locate the opening form tag in your code and place the endpoint address inside the action attribute. Here is an example of such a form tag:
<form action="https://form.taxi/s/FORM_CODE" method="POST">Replace FORM_CODE with the unique code assigned to your form. This code is different for every form connection and allows Form.taxi to correctly identify and route your submissions.
Once the submission address has been added to your website’s form, the connection is established. From this point on, Form.taxi processes and delivers all submissions.
You can adjust the settings of your form connection at any time in the management panel. More information is provided on the following pages.